Step by step instructions how to connect to VPN on MacOS X running computer.
In this case we have set up VPN server on Synology DiskStation configured as L2TP over IPSec.
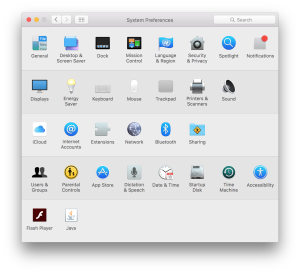
- Open System Preferences
 from Dock or main system menu under Apple icon
- Select Network from preferences

- Click „+“ button in lower left corner to add network

select VPN in as Interface, L2TP over IPSec as VPN Type and name your VPN connection, in our example we chose hranolek 🙂 Than click Create button. - Now we have to setup VPN server and user parameters

Fill in your server IP address or canonical name and also Account name given by your VPN server. - Click Authentication button

Leave Password empty to make your connection safer and fill Shared Secret field with your value, your VPN server administrator should give it to you personally.
Don’t forget to use Apply button after to save your changes. - Now you can try to connect to your VPN using Connect button, successful connection looks like that:

We can see status connected, time of connection and also IP address of our computer in VPN network. Notice Disconnect button… - If we leave checkbox Show VPN status on menu bar checked in this window
VPN icon appears in main system menu

and we can use it to connect our VPN server any time


That’s all folks, leave a comment below if you have any 🙂